Mocha Pro Workflow
To use the powerful subplanar motion tracking of Mocha Pro within After Effects, we can follow this basic series of steps. This workflow is called a Stabilized Workflow. NOTE: You must be in the Classic layout to see all of the required tools. You can review the tutorial video here.
1) Create and refine your tracking mesh within Mocha Pro
2) Working within Mocha, select the track with the tracking mesh and enter the Stabilize tab in the Parameters section
3) Locate the frame with the "flattest" iteration of the mesh target and add it to the Frame List by clicking the + button in that section.
4) Under Warp Mapping, choose Mesh Warp, Unwarp, and Use Matte. Hit Save and close Mocha to return to the After Effects interface
5) Duplicate the layer in AE. Working with the topmost duplicate, go the the AE Effects Control panel and open Module Renders. Click the Module dropdown and choose Stabilize Unwarp. Click Render.
6) Precompose this layer, moving all attributes and give it a name that IDs it as stabiled footage.
7) Introduce a graphic or other image data into the precomp and turn off the original stabilized footage layer.
8) Back in the main comp, copy the Mocha fx from the tracked layer via the Effects Control panel (right click the fx title and choose Copy) and paste onto the stabilized precomp layer (highlight stabilized layer and choose Menu> Edit> Paste.)
9) With the precomp highlighted, go up to the Effects Control panel and change the Module to Stabilize Warp and hit Render.
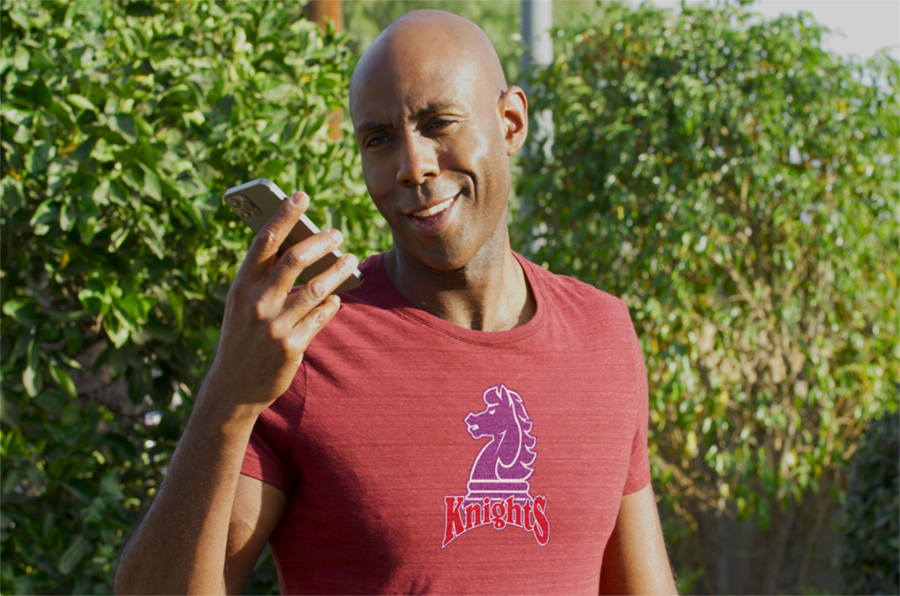
10) Use all of the AE toolset to integrate overlaid footage over original video. (click image above to watch the Knights Tee Shirt render.).